
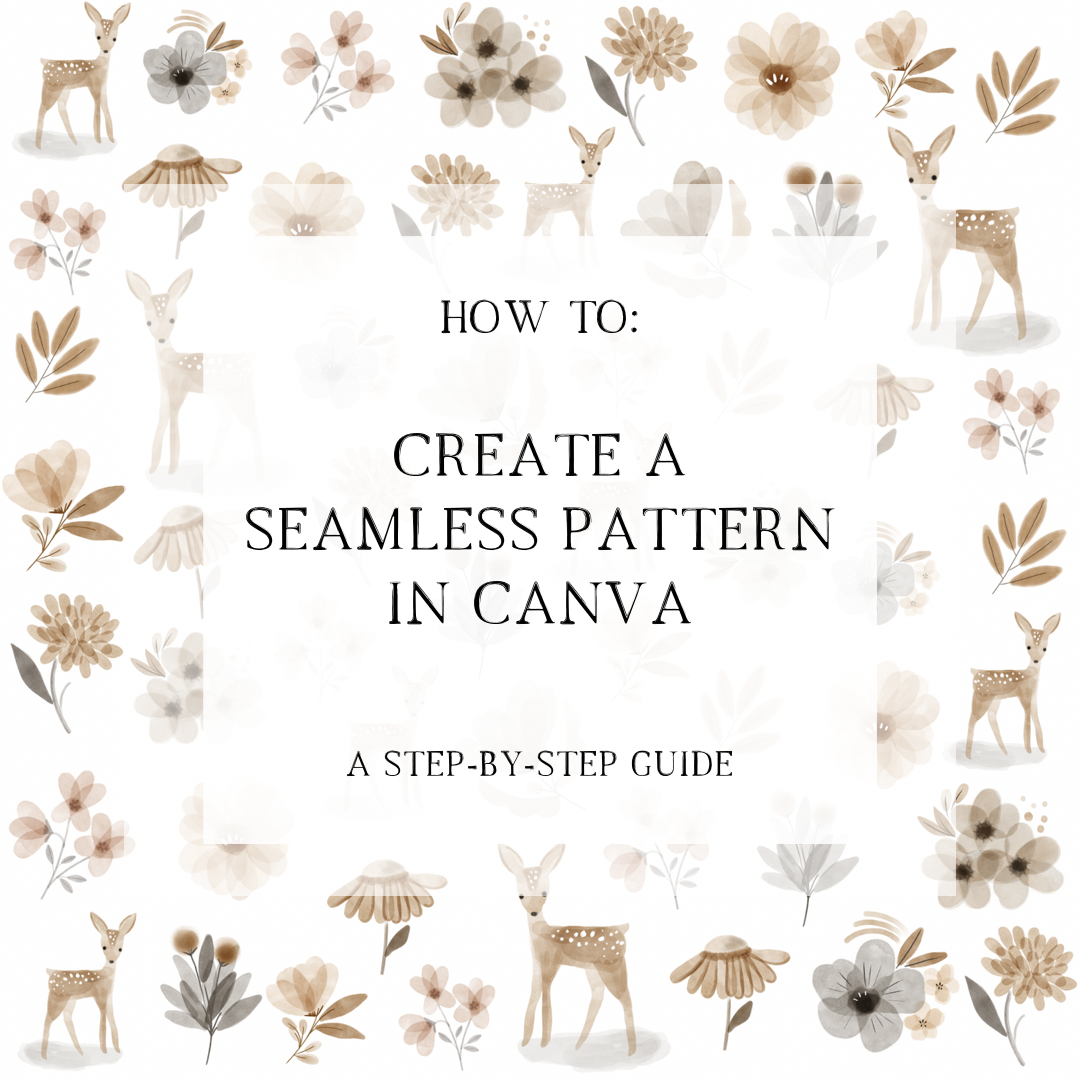

Creating a seamless pattern is an essential skill for graphic designers, marketers, and anyone who wants to add a professional touch to their designs. Whether you're designing a website background, a product packaging label, or a social media graphic, a seamless pattern can add a level of sophistication and visual interest to your work. Fortunately, with the help of Canva, a popular graphic design tool, you can create a seamless pattern with ease, even if you have little to no graphic design experience. In this blog, we'll guide you through the step-by-step process of creating a seamless pattern in Canva. You'll learn everything you need to know to create a professional-looking pattern that will enhance your designs and take them to the next level
Step 1: Choose a square design size
First, open a new design in Canva and select a square design size that is 2000 x 2000 pixels. You can do this by clicking on the "Custom size" option in the top right corner of the screen and entering the dimensions manually. This will ensure that your design is the right size for creating a seamless pattern.
Step 2: Add your design elements
Next, add the design elements you want to include in your pattern. You can use shapes, images, text, or any other design elements that you like. Make sure to place the elements in a way that will touch the outer borders without going over the edges. Be sure to fill the outer edges before filling the middle of your square.
Step 3: Download your design as a PNG file and upload it back into Canva
Once you've created your seamless pattern, download it as a PNG file by selecting the "Download" button in the top right corner of the screen and choosing the PNG file format.
Next, upload the PNG file back into Canva by selecting the "Uploads" tab on the left-hand side of the screen, and then clicking on the "Upload media" button. Once the file has uploaded, you can drag and drop it onto your new design canvas.
Step 4: Add a new blank page to your template and split it into four quarters by using the Canva Guides
Use the Canva Guides by clicking on “File”, “View Settings”, “Add Guides”.
Next, change your guides to Columns: 2, Rows 2. Make sure Gaps and Margins equal 0.
Step 5: Add a square frame to your design
Once you have your guides, go to the “elements” tab and add a square frame (NOT grid) to your design.
Next, resize the square frame so that it touches your guide lines.
Step 6: Add your uploaded pattern design to the square frame
Now that your square frame is lined up, click on the “uploads” tab and drag your uploaded pattern into the square frame. This will make the design take the shape of the frame without any adjustments.
Step 7: Duplicate the square frame
Next you need to duplicate the square frame holding your design and drag each duplicate so that it appears in each corner of your page.
Step 8: Double click each quadrant and drag the corner of the design out to the opposite corner
To make sure that your pattern is truly seamless, you'll want to make sure that each quadrant lines up perfectly with the others. Here's how:
-
Double click on each quadrant to edit the design within.
-
Drag the corner of the design out to the opposite corner of the quadrant, making sure that all elements within the quadrant stay within the quadrant boundaries.
-
Repeat this process for all 4 quadrants.
By dragging the corner of each quadrant out to the opposite corner, you'll create a seamless transition between each quadrant, making your pattern truly seamless.
Step 9: Flip each frame vertically then horizontally
To make sure that your pattern is truly seamless, you’ll want to flip each frame vertically and horizontally to create a more random and varied look. Here's how:
-
Select each square frame by clicking on it.
-
Click on the "Flip" button in the top menu, then select "Flip vertically."
-
Next, click on the "Flip" button again, then select "Flip horizontally."
-
Repeat this process for all 4 quadrants.
Step 10: Download your upside-down design as a PNG
Once you've completed all of the steps and are satisfied with your seamless pattern, you can download the design as a PNG file. Here's how:
-
Click the "Download" button in the top right corner of the screen.
-
Select "PNG" as your file format.
-
Choose the quality you prefer.
-
Click the "Download" button to save your design to your computer.
By downloading your design as a PNG, you'll have a high-quality image that you can use for a variety of purposes, like printing, digital design projects, or sharing on social media.
Step 11: The Final Step!
Upload your design back into Canva and flip the design vertically again if necessary. This is usually only necessary if your pattern includes elements that have a top/bottom.
You now have a Seamless, Repeating Pattern!
Creating a seamless pattern in Canva is a simple process that anyone can do. With just a few clicks, you can create a unique and eye-catching design that can be used in a variety of different ways. So, go ahead and experiment with different design elements and see what kind of patterns you can come up with!
Step-by-step video on Instagram: https://www.instagram.com/reel/CqBR8s2gwjk/?igshid=YmMyMTA2M2Y=